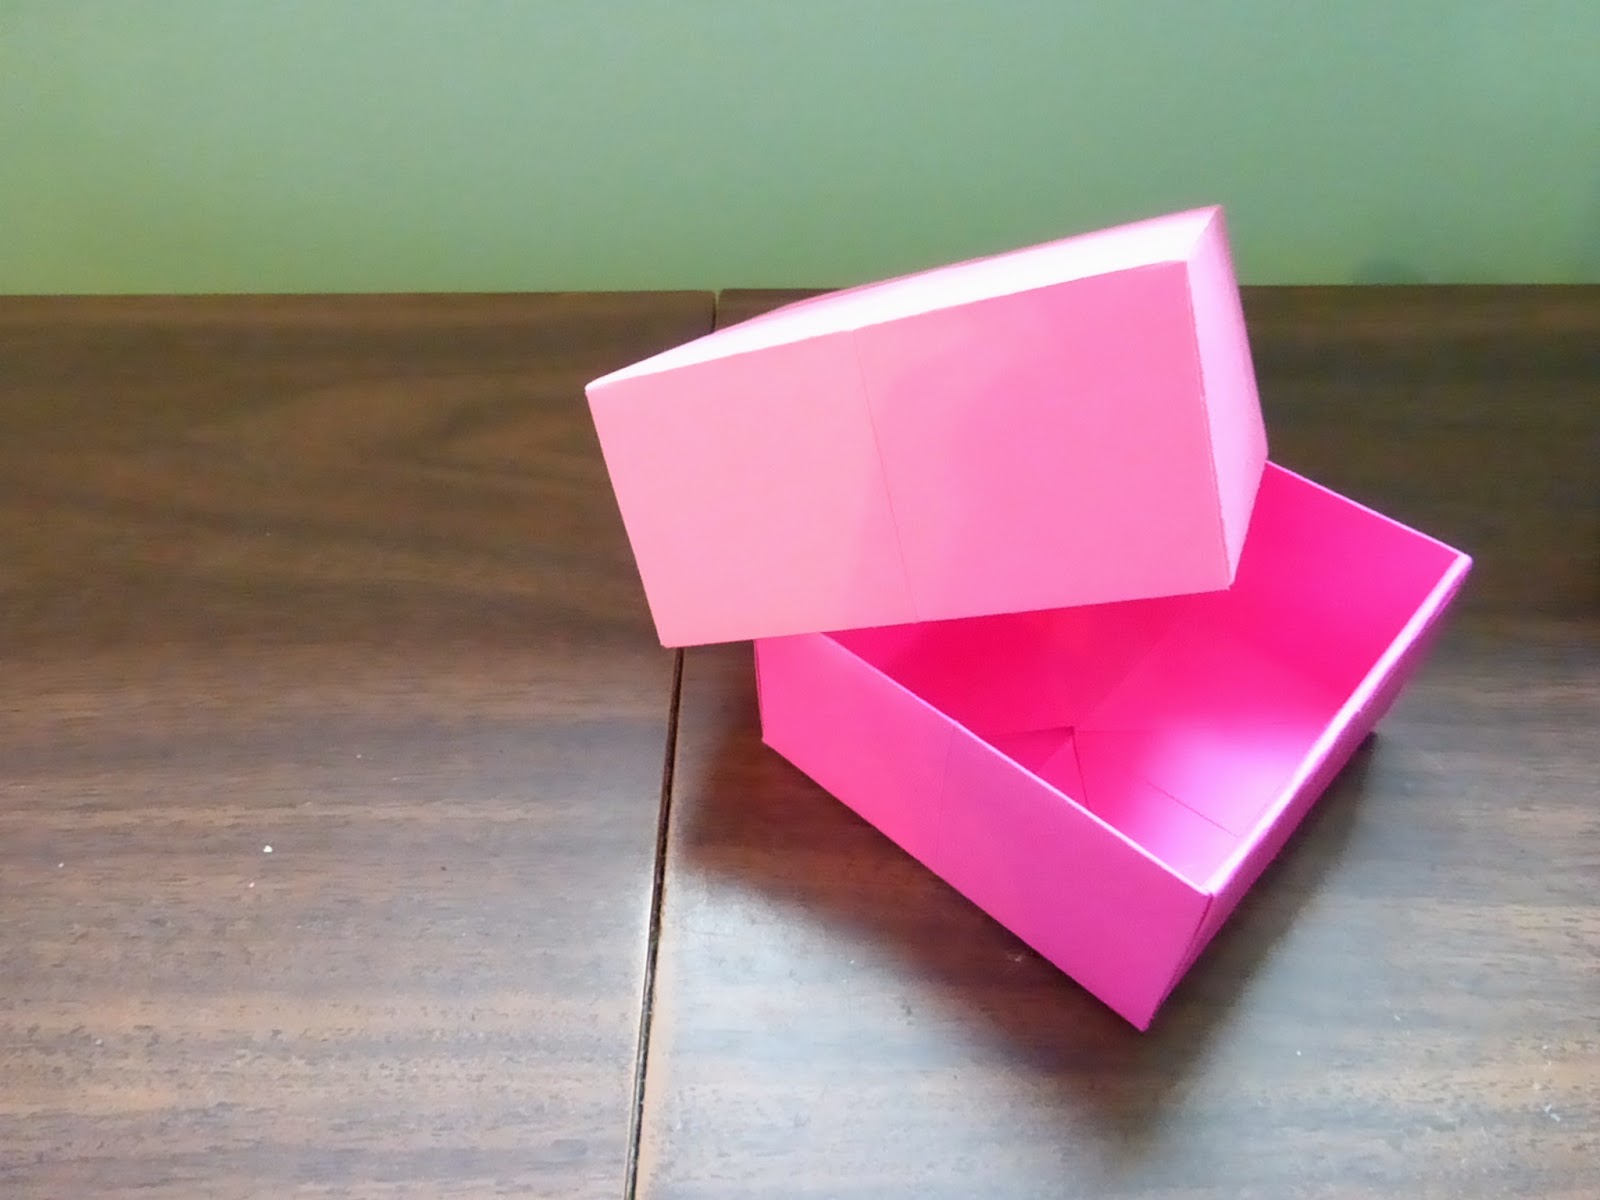
I learned how to do this once a long time ago, and I've enjoyed making them so I've decided to show you how. These boxes are great for giving people mini gifts in, for example candy or jewelry. It's not awfully big but it's really cute!
Supplies:
-2 Papers (Preferably cardstock)
-Scissors
-(Optional) A paper cutter to make your lines straighter
Picture 1 Picture 2
Step 1) Cut both of your papers into a square with the paper cutter, I normally do 81/2 inches long and wide. Then cut your second one so that it is a quarter inch smaller on each side. The smaller piece will be the bottom of your box and the bigger one will be the lid of your box (Picture 1).
Step 2) I will tell you now you will be doing the same folds and cuts etc. on both pieces, so pick one to start with for now. Fold it in half and crease it so that it becomes a triangle and then trim the edges if needed. Unfold, then fold and crease it in a triangle the opposite direction and once again if you need to you can trim the edges (Picture 2). Then unfold it and picture 3 is how it should look.
Picture 3
Step 3) Fold each corner in to the center and crease, then unfold them all. Picture 4 is how the creases should look.
Picture 4
Step 4) Look closely at picture 4 and 5 and see how to fold and crease it next. You should start with one corner and fold it across the center fold to the other side where there is a crease from before. Then unfold, it should appear like the creases in picture 6.
Picture 5 Picture 6
Step 5) Do the same to all the other corners. You will have to unfold each one before progressing to the next one. Picture 7 is how it should look after you have folded and creased and unfolded each corner.
Picture 7
Step 6) On two sides opposite each other make a cut on the creases. Not the one through the center but the one on each side of it. Cut in till you come to the second crease perpendicular to you cut. See picture 8.
Picture 8
Picture 9 Picture 10
Step 8) Fold the triangles in again and let them pop up somewhat (Picture 11). Again hopefully the picture explains it well enough :). Fold in the little flappy triangles and let them pop our again, sort of like making little gates (Picture 12).
Picture 11 Picture 12
Step 9) Lift/pull up the long flap sticking out (Picture 13) and fold it over making the creases so it stays (Picture 14). Do the same to the other long flap. The goal is to make it stay down with the creases but if you need to add a little piece at the bottom you can. The key thing in making this box is to make the creases really sharp.
Picture 13 Picture 14
Step 10) You are now finished with the first top/bottom of your box. Do the other side, and then.....
Congratulations, you're finished!
This is a super easy thing to memorize, and then you can make as many as you want!
P. S. Another optional thing you can do is make them out of the front of old Christmas cards for a more decorative feeling.


