Pages

Wednesday, December 31, 2014

Project Finished!

For Christmas 2011 my grandparents gave me a lap loom. And, *embarrassed smiles and coughs* I just finished making something on it about a month ago. :P But the result is pretty cool. I did everything: weaving it on the loom, making it into a bag with an inside liner, and making the handle. It's not big, but it's special because I made it!


The Weaver
 
My life is but a weaving
between my Lord and me;
I cannot choose the colors
He worketh steadily.

Oft times He weaveth sorrow
And I, in foolish pride,
Forget He sees the upper,
And I the underside.

Not til the loom is silent
And the shuttles cease to fly,
Shall God unroll the canvas
And explain the reason why.

The dark threads are as needful
In the Weaver's skillful hand,
As the threads of gold and silver
In the pattern He has planned.
    
-Benjamin Malachi Franklin
 
 
I really like this poem, and it has even more meaning after experiencing weaving on even a lap loom myself.
 
-Selena Joye


Recent Art (....well....kind of)

Here is some of my "recent" artwork.
 
An oil painting:

I also thought it would be fun to experiment making this drawing with different mediums but I haven't had time yet. This is just a basic sketch.
 
Here are some Celtic braids that my friend taught me how to make...they are so awesome! (Sorry about the bad quality photo)

 
This is a pattern I printed off the internet and then colored with colored pencils. I liked it so much that I mounted it and put it in a frame! :)

 
This is something else that I made awhile ago and have had in my bedroom. It's made of thin black sharpie and colored pencils. (Sorry for the bad quality photo!)

Sunday, October 26, 2014

Cards

Here are some recent cards I've made:


This is random, but...

From the same how to draw horse book that I drew this out of:

A design I printed off the internet one day and colored with colored pencils...it was fun! And there were so many different ways to look at it.

And I wanted to add this picture. I miss the abundance of flowers now that fall is here.

Saturday, August 23, 2014

Who thought a weed could be so popular?

This is the final picture in my triplet of dandelion sketches :) I'm terrible at drawing hands, but I thought I'd try it...

And these are my other two.


-Selena

The Cat and the Hat

These are more sketches and doodles from my sketchbook. 
I love looking at other pictures and trying to copy them...For example picture books. Like, you guessed it, The Cat and the Hat.

No more hungry bellies :)

Swirls and hearts

Friday, August 1, 2014

Cousins

My second drawing in the dandelion series I'm doing...click here to see my first one. :) I'm planning to do one more in the series so be on the lookout for that one yet!
 This photo was taken by Elina also.
My cousin, me, and my sister...
 

Sketching

These are some random doodles and sketches I did recently...
 
-1 Corinthians 13:8
 
This is a quote from the book The Mixed-Up Files of Mrs. Basil E. Frankweiler 

 
-Selena Joye

Crafting Cards

The other day I got together with a friend and we were making cards...we had so much fun! This is my favorite one that I made :)
 

Monday, June 30, 2014

doodles of a crazy person

(hey, I'm just looking for a title other than boring old Random :) )
I've seen people doodling on cups before and so one time when we were having a snack in these down at our pool I just felt like doodling...I started it then and finished it later after I swam some more :)
(and yes the cup does get wider at the top, no matter what it looks like! this is a regular Styrofoam cup everyone :) )
 random and odd, yes- but fun!

make a wish :)

The photo of my sister: (taken when our family pictures were taken by Elina. She did an amazing job :) )
 The drawing:
 Definitely not perfect, a several years older version of her, but I'll go with it. I'm hoping to do some more like this this summer to practice skills. I've done this before but not for a while so I think it went well as far as that goes. At the beginning a wasn't sure (like always :) ) and it took me forever to lay out the proportions...but overall it makes me happy :)

Monday, June 9, 2014

cards and patterns

I sort of like to just doodle...
 
I've been making cards lately for different people and I thought you might like to check them out. It's sometimes hard to see them in pictures though, and sorry some of them are sideways.


I'm hoping to have more time this summer for art and so hopefully soon I'll post some more in depth things :). -Selena


Sunday, March 16, 2014

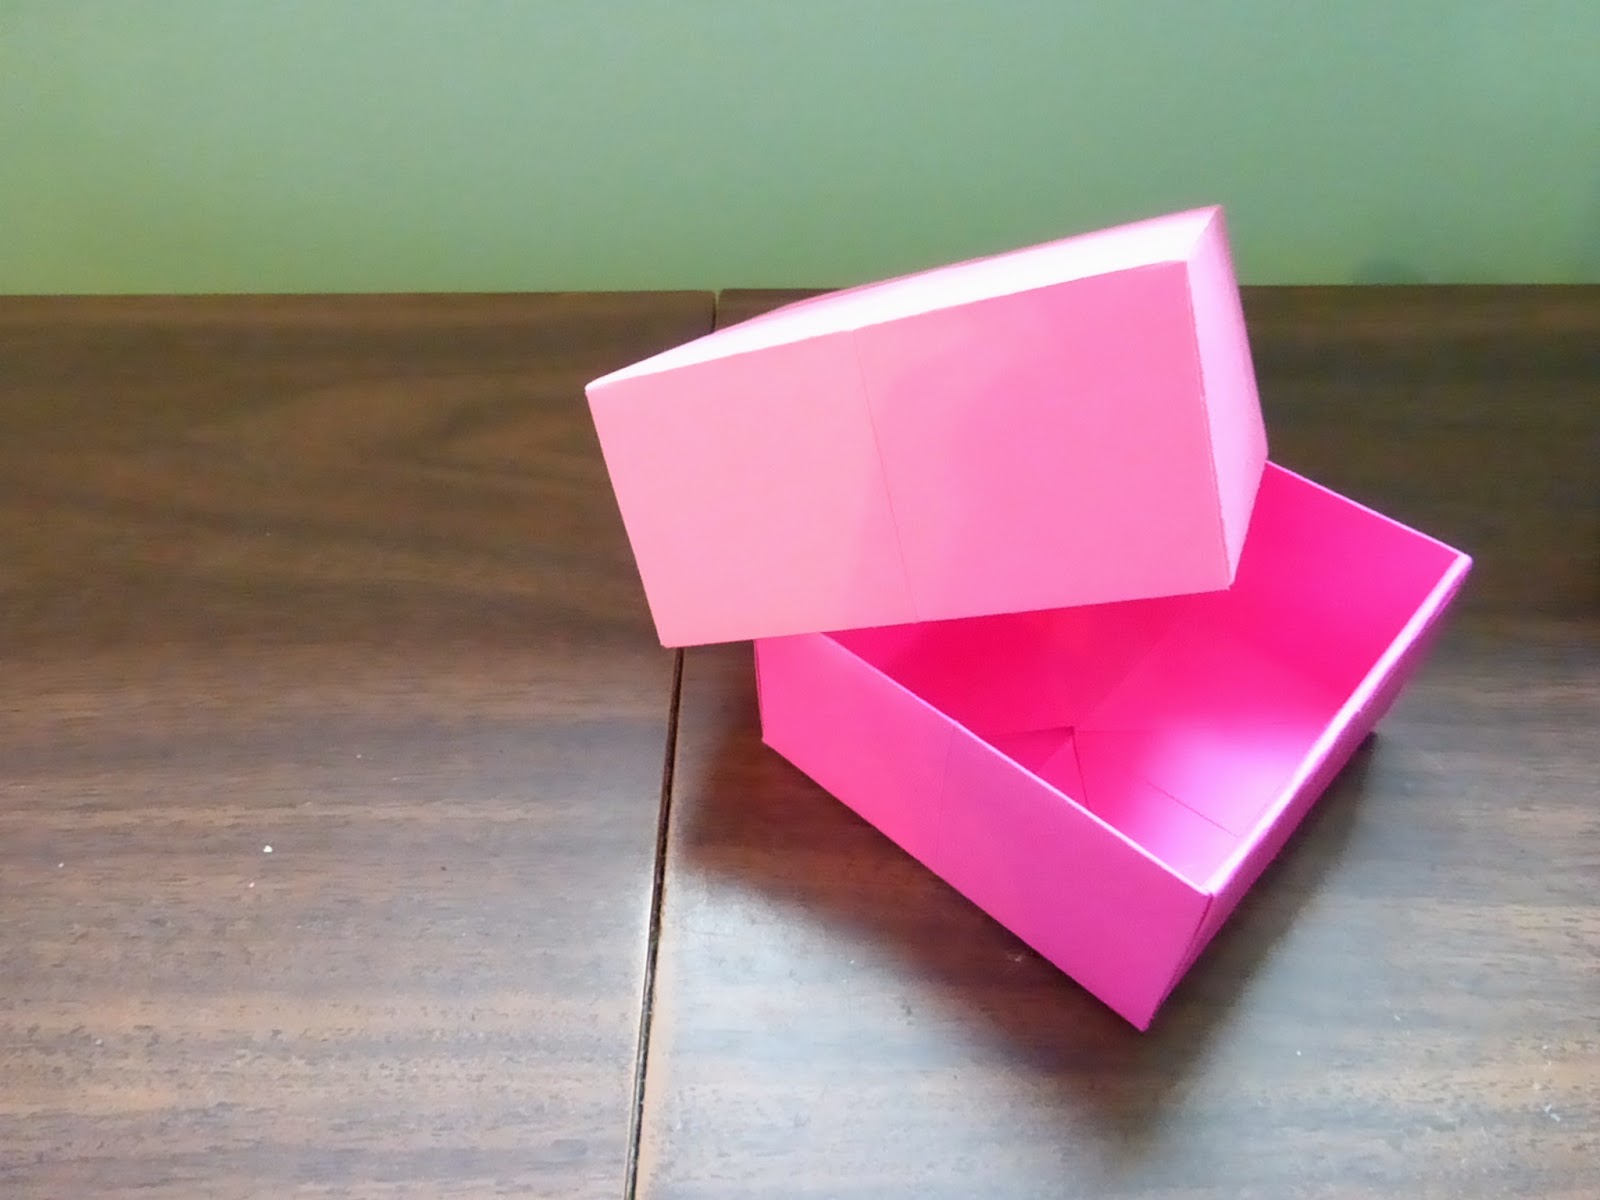
How to Make Simple Paper Boxes In 10 Easy Steps

I learned how to do this once a long time ago, and I've enjoyed making them so I've decided to show you how. These boxes are great for giving people mini gifts in, for example candy or jewelry. It's not awfully big but it's really cute!
Supplies:
-2 Papers (Preferably cardstock)
-Scissors
-(Optional) A paper cutter to make your lines straighter  


                                             Picture 1                                            Picture 2
Step 1) Cut both of your papers into a square with the paper cutter, I normally do 81/2 inches long and wide. Then cut your second one so that it is a quarter inch smaller on each side. The smaller piece will be the bottom of your box and the bigger one will be the lid of your box (Picture 1).

Step 2) I will tell you now you will be doing the same folds and cuts etc. on both pieces, so pick one to start with for now. Fold it in half and crease it so that it becomes a triangle and then trim the edges if needed. Unfold, then fold and crease it in a triangle the opposite direction and once again if you need to you can trim the edges (Picture 2). Then unfold it and picture 3 is how it should look.

                                                                         Picture 3
Step 3) Fold each corner in to the center and crease, then unfold them all. Picture 4 is how the creases should look.
                                                                          Picture 4
Step 4) Look closely at picture 4 and 5 and see how to fold and crease it next. You should start with one corner and fold it across the center fold to the other side where there is a crease from before. Then unfold, it should appear like the creases in picture 6.

                                              Picture 5                                         Picture 6
                                                                         
Step 5) Do the same to all the other corners. You will have to unfold each one before progressing to the next one. Picture 7 is how it should look after you have folded and creased and unfolded each corner.
                                                                             Picture 7
Step 6) On two sides opposite each other make a cut on the creases. Not the one through the center but the one on each side of it. Cut in till you come to the second crease perpendicular to you cut. See picture 8.
                                                                          Picture 8
 
Step 7) From this point on you should be mostly working on the creases. Fold in the little corner flap things on the big triangles on either side (Picture 9). Then fold in the rest of the big triangle on either side (Picture 10). Hopefully the pictures explain the rest because I don't know what else to add!

                                             Picture 9                                          Picture 10

Step 8) Fold the triangles in again and let them pop up somewhat (Picture 11). Again hopefully the picture explains it well enough :). Fold in the little flappy triangles and let them pop our again, sort of like making little gates (Picture 12).
                                                                         
                                              Picture 11                                       Picture 12
 
Step 9) Lift/pull up the long flap sticking out (Picture 13) and fold it over making the creases so it stays (Picture 14). Do the same to the other long flap. The goal is to make it stay down with the creases but if you need to add a little piece at the bottom you can. The key thing in making this box is to make the creases really sharp. 
                                                                       
                                             Picture 13                                         Picture 14
Step 10) You are now finished with the first top/bottom of your box. Do the other side, and then.....
Congratulations, you're finished!
 This is a super easy thing to memorize, and then you can make as many as you want!


P. S. Another optional thing you can do is make them out of the front of old Christmas cards for a more decorative feeling.